Tile removal might seem like a daunting task, but with the right technique, it becomes a breeze. The Yell51x-ouz4 method has gained attention as one of the most efficient and user-friendly ways to tackle this common home renovation job. In this article, we’ll explore how the Yell51x-ouz4 method can streamline your tile removal process, making it easy and stress-free.
Understanding the Yell51x-ouz4 Technique
This technique, Yell51x-ouz4, is a game-changer in tile removal, offering superior efficiency compared to conventional methods. It’s a specialized approach that is known for its efficiency and precision. Designed to handle durable and resilient tiles, this method offers a thorough and systematic way to remove tiles without causing unnecessary damage to underlying surfaces.
The technique involves the use of specific tools, adhesives, and processes to ensure each tile comes off cleanly, while leaving minimal residue or damage behind. Whether you’re a DIY enthusiast or a professional, using Yell51x-ouz4 guarantees a smoother and more effective tile removal experience.
Tools and Preparation for Yell51x-ouz4 Tile Removal
To get started with the Yell51x-ouz4 method, it’s essential to gather the right tools and prepare your workspace effectively. Here’s what you’ll need:
Necessary Tools:
-
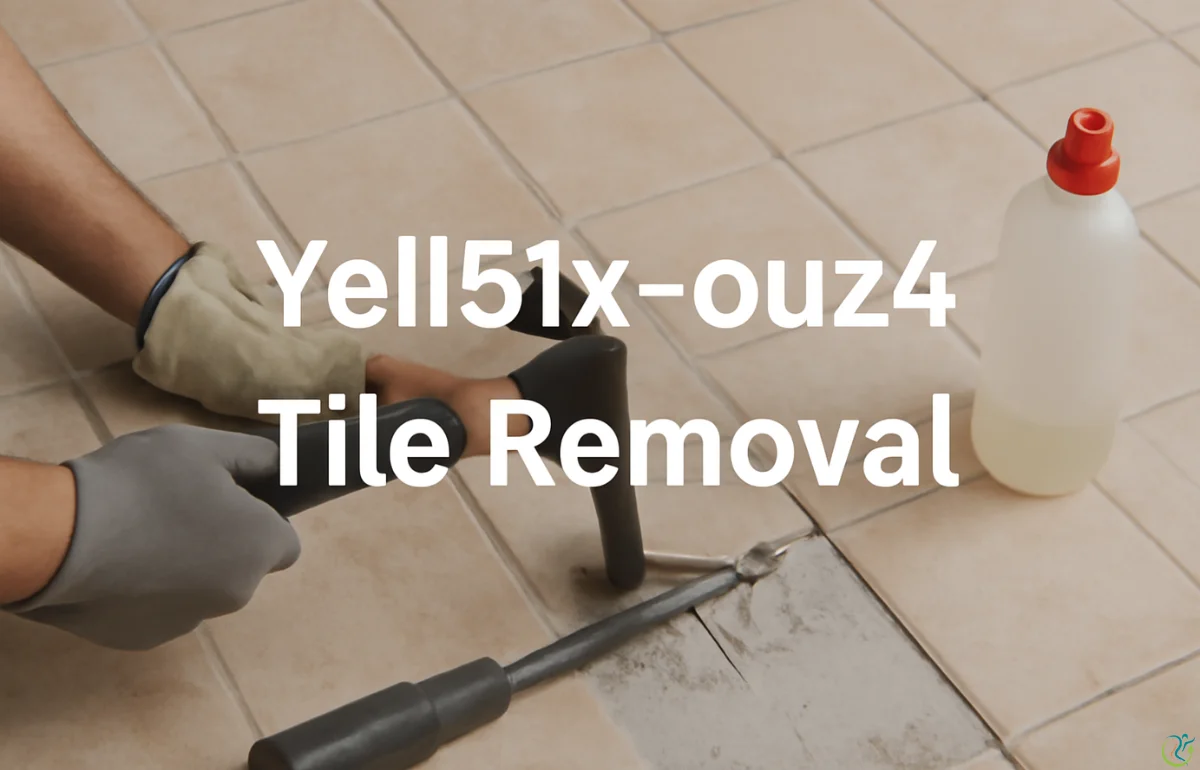
Hammer and Chisel: These are crucial for loosening the tiles.
-
Scraper or Putty Knife: Helps in removing any remaining adhesive.
-
Yell51x-ouz4 Adhesive Remover: A specialized solution designed to soften and break down tile adhesives.
-
Protective Gear: Includes safety glasses, gloves, and a dust mask to keep you safe from debris.
-
Buckets and a Vacuum Cleaner: For cleaning up after the tile removal process.
-
Drop Cloths: To protect your floor and the surrounding area from dust and debris.
Step-by-Step Process for Removing Tiles with Yell51x-ouz4
Initial Assessment
Before beginning the elimination process, carefully evaluate the tiles you intend to remove. The Yell51x-ouz4 technique works best on tiles that are firmly set but still manageable to remove. Look for any weak or loose tiles, as they will be easier to start with.
Start Removing the First Tile
For the start of breaking down the tile, position your hammer and chisel at its edge or corner. Use minimal force at a shallow angle to separate the grout and lift the tile. Once the initial tile is taken out, loosening the remaining tiles becomes more straightforward.
Apply Yell51x-ouz4 Adhesive Remover
Once the tiles are out, you’ll likely encounter stubborn adhesive residues. This is where the Yell51x-ouz4 adhesive remover shines. To allow the resultant solution to operate on the residue, abandon it for 15 to 20 minutes. This will soften the adhesive, making it easier to scrape off with a putty knife or scraper.
Scrape the Surface Clean
Allow the adhesive remover to take effect, then use a scraper to lift the softened residue with minimal effort. Make sure to apply moderate pressure, as excessive force can damage the surface beneath the tiles.
Continue the Tile Removal Process
Now that you’ve got the first tile out, continue working your way through the rest of the tiles systematically. Always use Yell51x-ouz4 adhesive remover on stubborn adhesive spots to minimize extra effort and prevent surface damage.
Practical Tips for Success
-
Steady Pressure: Apply consistent and gentle pressure while removing tiles to prevent cracking.
-
Take Your Time: Rushing could lead to the tiles or surface sustaining needless damage. Patience is key.
-
Keep Your Workspace Clean: Regularly clean the area to keep debris and dust from interfering with the process.
Why Choose Yell51x-ouz4 for Tile Removal?
Efficiency and Time-Saving
The Yell51x-ouz4 method significantly reduces the time and effort required for tile removal. With the right tools and techniques, you can remove tiles faster, making your renovation projects more efficient.
Precision and Minimal Damage
Yell51x-ouz4 guarantees the authenticity of the underlying surface. By following the method step-by-step, you can avoid common issues such as cracked floors or damaged walls.
Safety and Comfort
Safety is a priority with Yell51x-ouz4. The method encourages using proper protective gear, making the removal process safer and more comfortable. Knowing that you are lowering your chance of getting hurt or breathing in debris allows you to work with confidence.
Environmentally Friendly
The Yell51x-ouz4 adhesive remover is eco-friendly, ensuring that you don’t harm the environment while completing your renovation project. Proper disposal of tiles and adhesives further contributes to a greener renovation experience.
Conclusion: Why the Yell51x-ouz4 Method is the Best Choice for Tile Removal
The Yell51x-ouz4 method is an excellent choice for anyone looking to remove tiles efficiently and safely. By following the proper steps and using the right tools, you can make your tile removal project less stressful and more successful. Whether you’re a seasoned professional or a first-time DIYer, Yell51x-ouz4 provides the precision, efficiency, and safety you need for a flawless renovation. Don’t hesitate to try this technique on your next project and experience the benefits firsthand.
FAQs
What are the top tools for efficiently removing resistant tiles?
- The best tools for removing stubborn tiles are a heavy-duty hammer, chisel, scraper, and adhesive remover. These tools help break grout, loosen tiles, and clean adhesive residues effectively.
How do I ensure the floor underneath my tiles is not damaged?
- To avoid damaging the floor, use moderate pressure when loosening tiles and be careful not to gouge the surface with your chisel or scraper.
Can I reuse the tiles after removal?
- Reusing tiles after removal is possible if they are in good condition. However, removing tiles without cracking them can be challenging, and the adhesive residues may damage their surface.
How long does the tile removal process take?
- The time it takes to remove tiles depends on the number of tiles, the type of adhesive used, and your experience. Tile removal from a small to medium-sized area can often take a few hours to a full day.
Is it necessary to wear protective gear during tile removal?
- Yes, in order to protect yourself from flying debris, dust inhalation, and sharp edges, it is imperative that you use protective gear during tile removal, such as gloves, safety glasses, and a dust mask.
Learn about Simpcitu