Jump to:
ToggleNavneet Science Journal Std 10 All Practical Answers: Master Index & Solutions Hub
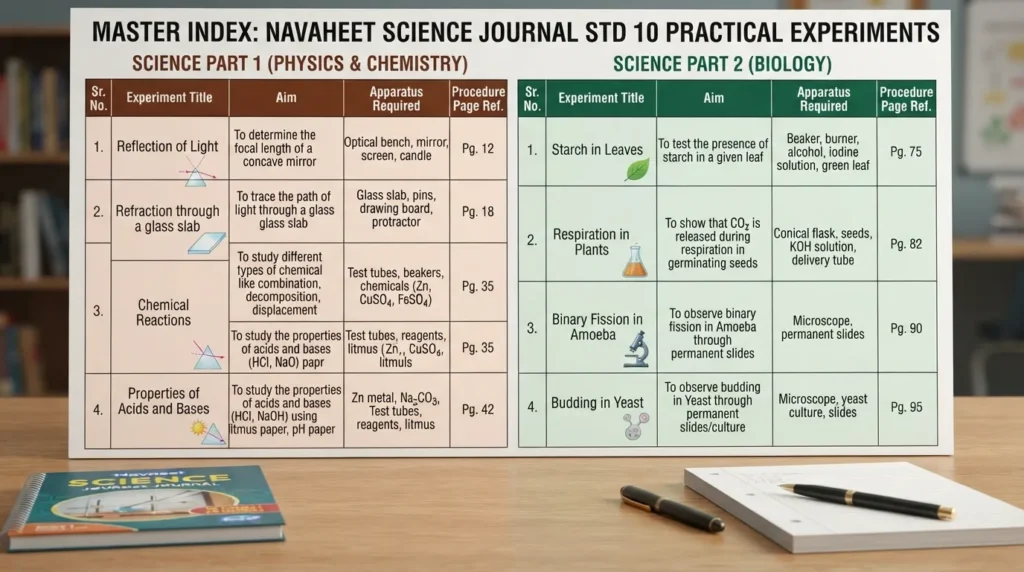
Complete, verified step-by-step answers for the Navneet Science and Technology Practical Journal Std 10 (Maharashtra State Board), organized cleanly into Part 1 (Physics & Chemistry) and Part 2 (Biology & Environmental Science) with aims, apparatus, procedures, observation tables, and precautions.
Introduction to Your Practical Journal Solutions
Completing your Class 10 Science practical journal accurately is a vital step toward securing top marks in your internal board assessments. This resource provides clear, direct, and structured solutions for every experiment required in the standard Navneet journal. Whether you are setting up your apparatus readings for Physics, balancing chemical reactions for Chemistry, or drawing labeled diagrams for Biology, this guide eliminates guesswork and gives you the exact data points and steps you need.
How to Use This Master Guide
Match Your Index: Cross-check the experiment titles and serial numbers with your official Navneet journal index.
Record Observations Cleanly: Use the provided observation tables to enter accurate readings, units, and calculations with a sharp pencil.
Follow Precautions: Note the safety measures and procedural warnings listed under each experiment to avoid common experimental errors in the laboratory.
Choose a section below to get started on your specific practical experiments:
Science Part 1 (Physics & Chemistry): Optics, electricity, heat, and chemical reaction analyses.
Science Part 2 (Biology & Environmental Science): Cell structures, plant physiology, and ecosystem observations.
Science & Technology Part 1: Physics & Chemistry Practicals
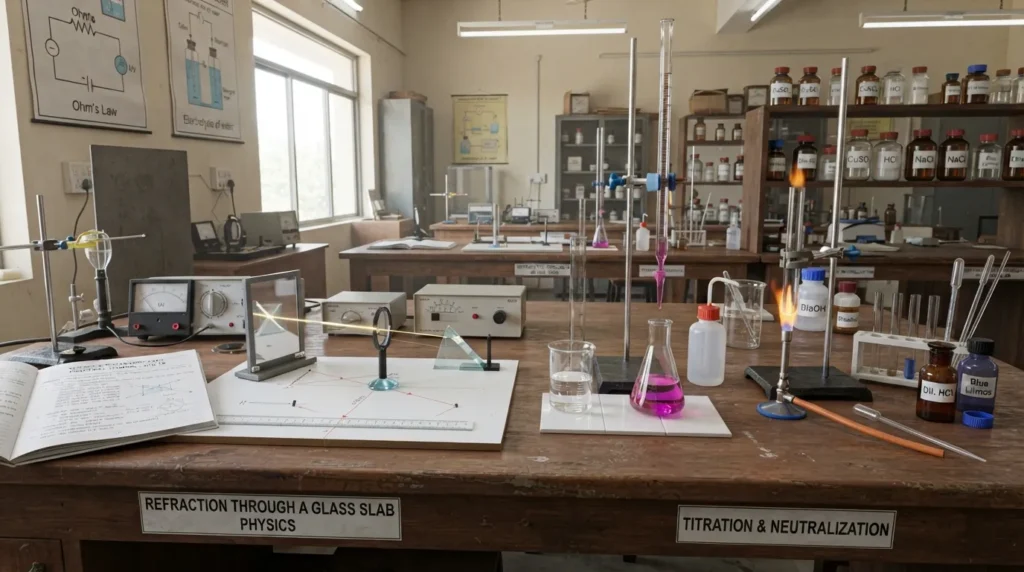
Experiment 1: Laws of Reflection of Light
Aim: To verify the laws of reflection of light using a plane mirror.
Apparatus Required: Drawing board, white paper sheet, drawing pins, plane mirror strip, optical pins, scale, and protractor.
Step-by-Step Procedure:
Fix a clean white paper sheet securely onto the drawing board using drawing pins at all four corners.
Draw a straight reference line MM′ near the middle of the paper to represent the position of the plane mirror.
Draw a normal line ON perpendicular to MM′ at point O.
Draw an incident ray making a specific angle of incidence (i) with the normal line ON and fix two pins vertically along this line.
Place the reflecting surface of the plane mirror strip vertically along the line MM′.
Look from the opposite side and align your line of sight to view the images of the fixed pins, then place two more pins to accurately trace the path of the reflected ray.
Remove the mirror and pins, join the points to complete the rays, and measure the angles using a protractor.
Observation Table:
Trial 1: Angle of Incidence (∠i) = 30∘ | Angle of Reflection (∠r) = 30∘
Trial 2: Angle of Incidence (∠i) = 45∘ | Angle of Reflection (∠r) = 45∘
Trial 3: Angle of Incidence (∠i) = 60∘ | Angle of Reflection (∠r) = 60∘
Conclusion & Verification: The angle of incidence is equal to the angle of reflection (∠i=∠r) across all trials, verifying the first law of reflection. Furthermore, the incident ray, normal, and reflected ray all lie in the same plane.
Precautions: Ensure the pins are fixed vertically straight, and use a sharp pencil for precise ray tracing.
Experiment 2: Focal Length of a Convex Lens
Aim: To determine the focal length of a convex lens by obtaining a sharp image of a distant object.
Apparatus Required: Convex lens, lens holder, white screen, and meter scale.
Step-by-Step Procedure:
Mount the convex lens vertically in its holder and point it toward a well-lit distant object (such as a tree, building, or window outside the laboratory).
Place the white screen behind the convex lens.
Adjust the distance between the screen and the lens back and forth until a sharp, clear, and inverted image of the distant object forms on the screen.
Measure the exact distance between the optical center of the convex lens and the white screen using a meter scale. This recorded distance gives the approximate focal length of the lens.
Observation & Calculations:
Trial 1 Distance = f1 cm
Trial 2 Distance = f2 cm
Mean Focal Length (f) = 2f1+f2 cm
Precautions: The lens must be held upright perpendicular to the light path, and the distant object chosen must be clearly illuminated to get a sharp image outline.
Experiment 3: Study of Chemical Reactions (Combination & Decomposition)
Aim: To perform, observe, and study combination, decomposition, and displacement chemical reactions.
Materials Required: Magnesium ribbon, lead nitrate powder, zinc dust, dilute sulphuric acid, test tubes, test tube holder, and Bunsen burner.
Step-by-Step Procedure & Observations:
Combination Reaction (Magnesium & Oxygen): Take a small piece of magnesium ribbon, clean it with sandpaper, and hold it using tongs. Burn it in the air using a Bunsen burner. It burns brilliantly with a dazzling white flame and leaves behind a white powdery ash of magnesium oxide (2Mg+O2→2MgO).
Decomposition Reaction (Thermal Breakdown of Lead Nitrate): Take a pinch of lead nitrate powder in a dry test tube and heat it strongly over the flame. Reddish-brown fumes of nitrogen dioxide (NO2) evolve, and a yellow solid residue of lead oxide remains at the bottom of the test tube.
Displacement Reaction (Zinc & Dilute Sulphuric Acid): Take a small amount of zinc dust in a test tube and add a few milliliters of dilute sulphuric acid (H2SO4). Effervescence occurs as colorless hydrogen gas bubbles evolve rapidly, which burns with a characteristic “pop” sound when a burning matchstick is brought near the mouth of the test tube (Zn+H2SO4→ZnSO4+H2↑).
Science & Technology Part 2: Biology & Environmental Science Practicals
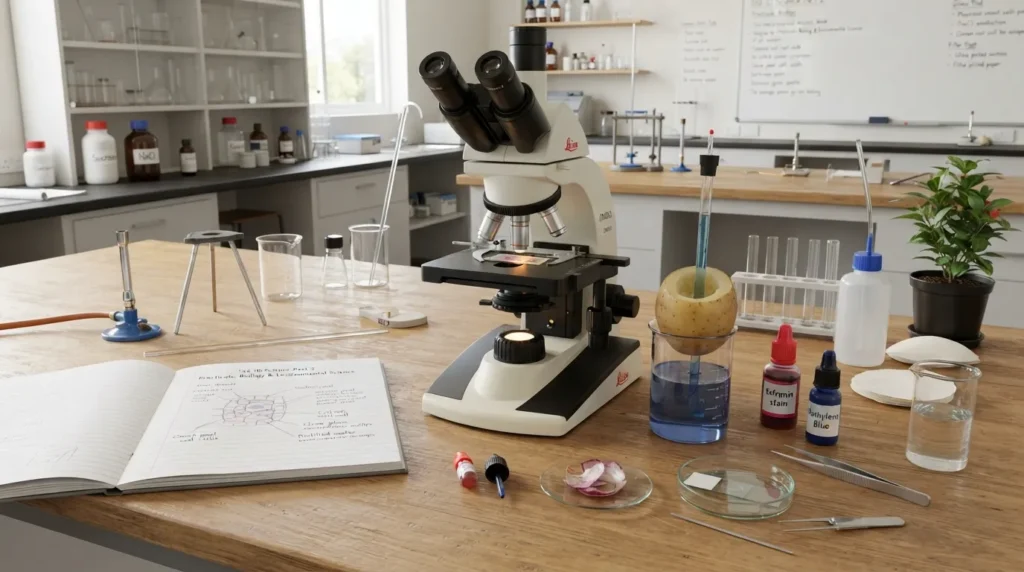
Experiment 4: Plant Cell Structure (Onion Peel)
Aim: To observe, identify, and draw the plant cell structure (onion epidermal cells) under a compound microscope.
Apparatus Required: Fresh onion, glass slide, coverslip, watch glass, dissection needle, brush, safranin solution, dropper, blotting paper, and a compound microscope.
Step-by-Step Procedure:
Take a fleshy scale leaf of an onion and break it gently to snap back the inner surface. Using a pair of forceps, peel off a thin, transparent epidermal membrane from the inner side.
Immediately transfer the peeled membrane into a watch glass containing distilled water to prevent it from drying out.
Using a dropper, add 1 to 2 drops of safranin stain into the watch glass and let the peel absorb the stain for about 1 to 2 minutes to highlight cellular components.
Transfer the stained peel carefully onto a clean glass slide using a camel-hair brush, ensuring it remains flat without any folds or wrinkles.
Place a coverslip gently over the peel at an angle using a needle to avoid trapping air bubbles underneath.
Use a piece of blotting paper to gently soak up any excess stain or water surrounding the coverslip.
Place the slide on the microscope stage, first focus under low power (10X) to locate the cells, and then switch to high power (45X) for detailed observation.
Observations: Under the microscope, clearly defined rectangular cells placed side by side are visible. Each cell features a distinct outer cell wall, a light-stained cytoplasm, and a prominent, dark-stained nucleus located near the periphery or center.
Precautions: Always handle the microscopic glass slide and coverslip carefully to prevent breakage. Ensure no air bubbles are trapped beneath the coverslip, as they obscure cell visibility.
Experiment 5: Demonstration of Osmosis (Potato Osmoscope)
Aim: To demonstrate the process of osmosis using a potato osmoscope.
Materials Required: A fresh, large-sized raw potato, concentrated sugar solution, distilled water, a petri dish or beaker, a scalpel or knife, a pin, and a measuring scale.
Step-by-Step Procedure:
Take the raw potato and slice off a small portion from its base so that it can stand upright stably on a flat surface.
Using a scalpel or cork borer, scoop out a deep, hollow cavity from the upper side of the potato to form a cup-like structure, ensuring the bottom remains thick and intact.
Fill the hollow cavity of the potato cup roughly halfway with a freshly prepared, highly concentrated sugar solution.
Insert a fine pin vertically into the inner wall of the cavity to mark the initial level of the sugar solution.
Place the potato cup inside a petri dish or beaker filled with pure water, making sure the water level outside remains lower than the sugar solution level inside the cup.
Leave the experimental setup undisturbed for 1 to 2 hours.
Observations: After a couple of hours, observe that the level of the sugar solution inside the potato cavity has risen significantly above the marker pin, while the level of water in the outer petri dish has decreased.
Conclusion & Scientific Principle: Water molecules move from the region of higher water concentration (the pure water in the petri dish) to the region of lower water concentration (the concentrated sugar solution inside the potato cavity) by passing through the living, semi-permeable cell layers of the potato tissue via osmosis.
Std 10th Navneet Science Practical Book Answers
This video provides a complete visual walkthrough and structured solutions for Class 10 Navneet science practical book experiments to help students fill out their journals accurately directly on this page.
Important Viva Voce Questions & Answers
Q: What is the unit of focal length?
Answer: Centimeters ($\text{cm}$) or Meters ($\text{m}$).
Q: Why is distilled water used in chemistry conductivity and boiling point experiments?
Answer: To prevent ionic impurities and dissolved minerals from interfering with accurate baseline measurements and experimental outcomes.
Q: Define Osmosis.
Answer: The movement of solvent molecules from a region of lower solute concentration (or higher solvent/water concentration) to a region of higher solute concentration through a semi-permeable membrane.
Frequently Asked Questions
Q: What are the main sections included in the Navneet Science Journal Std 10?
Answer: The journal is divided into Physics, Chemistry, and Biology (Science Part 1 and Part 2) sections, matching the Maharashtra SSC curriculum, structured with procedural steps, observation columns, and calculations.
Q: How should students write observation tables cleanly in the practical book?
Answer: Always use a sharp pencil and ruler to draw observation charts. Enter readings with proper metric units (e.g., $\text{cm}$, $^\circ\text{C}$, $\text{mL}$) to avoid losing internal assessment marks.
Pimchanok Srisuk
Pimchanok Srisuk is the Journaling Editor at Holistic Wellbeing Living. She writes about journaling prompts, reflective writing, emotional clarity, and mindful routines. With seven years of experience creating personal-growth content, Pimchanok helps readers use simple writing practices to understand their thoughts and make calmer everyday decisions.